
A steampunk keyboard can be a real everyday keyboard, not just a desk ornament, but only if you build around a working board first and decorate second. Start by choosing a donor keyboard that already feels good, then keep the key height, spacing, and wrist angle close to normal while adding the vintage details.
What makes a keyboard steampunk
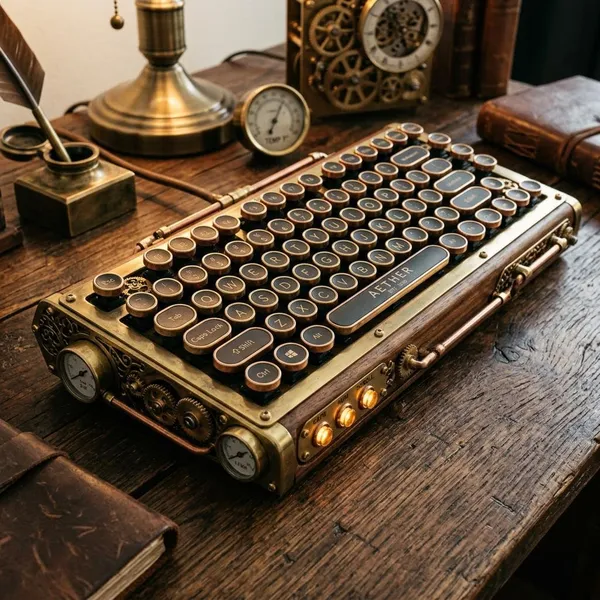
The steampunk look comes from mixing a modern typing device with materials that feel older, heavier, and more mechanical. Round keys, brass trim, dark wood, aged metal, visible fasteners, and a worn industrial finish all help, but the strongest builds usually use a few of these ideas well instead of adding every possible detail.
Typewriter-style keycaps
Round typewriter-style keycaps are the fastest visual shortcut to the steampunk look. Replica caps are usually easier for a daily-use build because they are lighter and more consistent than salvaged typewriter keys. Real vintage keytops can work, but they need careful mounting so they do not sit too high, tilt sideways, or rub against nearby keys.
Brass and copper details
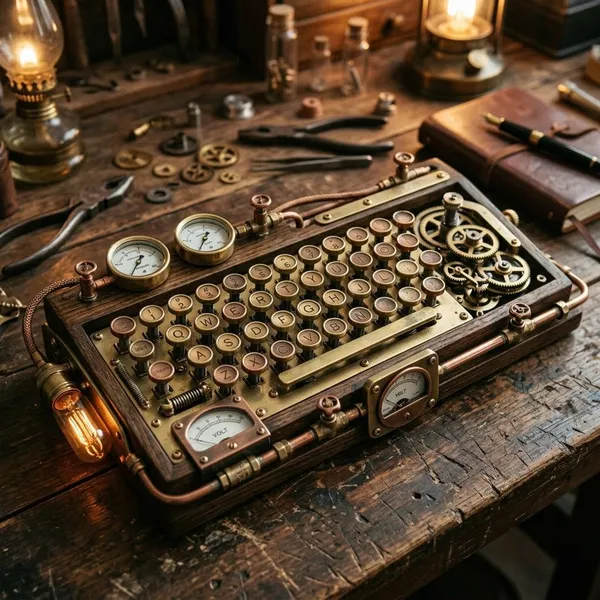
Brass and copper work best as accents, not as decoration on every surface. A thin brass strip around the case, copper corner protectors, or a few exposed washers can make the board feel like old workshop equipment without making it awkward to use.
If you want a cleaner result, choose one main metal and repeat it in small places. Mixing brass, copper, chrome, black screws, and bronze paint all at once can quickly make the keyboard look more costume-like than crafted.
Wood or aged metal frames
A wood frame is usually the better first build: it is easier to cut, sand, stain, and adjust if your measurements are slightly off. Aged metal can look excellent, but it demands more accurate cutting and can add weight fast.
- Beginner build: stained wood frame with brass trim.
- Heavier workshop look: aged metal shell with visible screws.
- Daily typing setup: slim frame that keeps the front edge low.
Visible screws and mechanical accents
Visible screws, brackets, and small bolts make the keyboard feel assembled rather than molded. They are most convincing when they also hold the frame together. Decorative pieces glued on at random can look busy and may catch your hands while typing.
A vintage industrial finish
The finish should look aged but still touchable. Waxed wood, brushed brass, darkened edges, and a soft clear coat usually work better than fake rust or heavy distressing. Since a keyboard is handled constantly, seal any painted or stained areas that your hands will touch often.
How to choose a donor keyboard
The donor keyboard decides how usable the finished project will be. Before thinking about keytops or brass trim, check three things first: every key must work, the layout must suit your normal typing, and the case must leave enough room for the frame you want to build.
- Best for daily use: a keyboard you already enjoy typing on.
- Best for a first project: a standard layout with removable keycaps.
- Risky choice: a cheap or damaged board you have not tested.
Removable keycaps for easier changes
Removable keycaps make the whole project more forgiving. You can test round caps, correct a crooked mount, and remove a problem key without tearing apart the switch underneath. Avoid boards where the key surface is built into the mechanism unless you are prepared for much harder fitting work.
Reliable switches for daily typing
Decoration will not fix bad switches. If a key already feels scratchy, loose, or inconsistent, that problem will still be there after the steampunk conversion. For a keyboard you plan to use every day, start with switches you trust rather than hoping the custom build will make the board feel better.
A standard layout for simpler fitting
A standard full-size or tenkeyless layout is easier to measure and easier to modify. Common key sizes give you fewer surprises around Shift, Enter, Backspace, and the spacebar. Compact or unusual layouts can still work, but they often make round key spacing and frame planning more difficult.
Enough space for a custom frame
Look at the keyboard from the side as well as from above. A very tight modern case may not leave space for wood or metal trim without blocking key movement. A donor board with a little border around the keys gives you more room to create the vintage look without crowding your hands.
Working keys tested before modification
Test the keyboard before removing anything. Open a keyboard tester or a blank document and press every key, including modifiers and function keys. This is especially important with secondhand boards, because a failing cable or sticky stabilizer is much easier to deal with before glue, trim, and finish are added.
How to build a steampunk keyboard
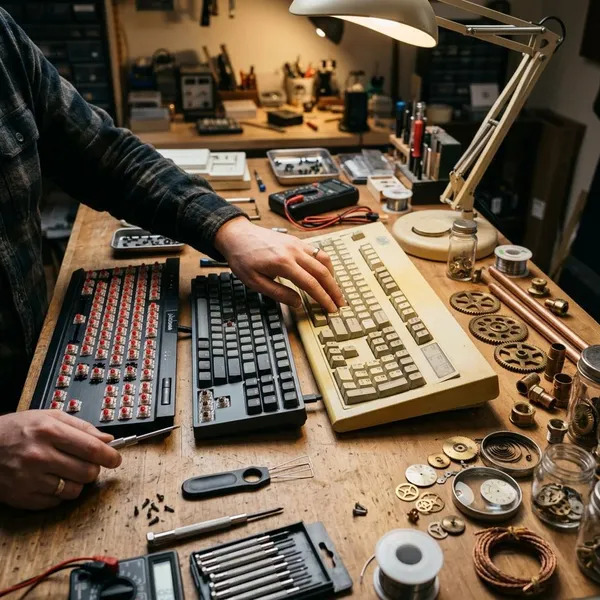
A practical build is less about changing the electronics and more about controlling the visible parts around them. Keep the working internals safe, test often, and make permanent changes only after the height, spacing, and frame fit have been checked in real typing position.
Remove the case and keycaps
Unplug the keyboard, remove the keycaps carefully, and keep them organized by row. Take photos before and during disassembly, especially around large stabilized keys such as Space, Enter, Shift, and Backspace. If the case has hidden screws under rubber feet or labels, forcing it open can crack clips you may need later.
Plan the new layout and frame
Measure the exposed keyboard before cutting anything. The important dimensions are the front edge height, side clearance, key travel space, cable route, and the depth needed to hold the internals securely.
- Quick mock-up: use cardboard to test the frame shape on your desk.
- Comfort check: rest your hands where they naturally type.
- Clearance check: make sure round caps will not hit each other.
Prepare the replacement key tops
Clean the replacement keytops and test a small group before preparing the full set. Try a few keys from different rows, because row height and angle can change how the caps feel. If a sample key feels heavy, unstable, or too tall, fix that before repeating the same problem across the whole board.
Build and fit the outer case
Dry-fit the outer case before attaching it permanently. The case should support the keyboard without pressing on switches, circuit boards, stabilizers, or the cable. A slightly simpler frame that sits flat and feels stable is better than an elaborate shell that rattles or lifts your wrists too high.
Attach and align each key
Attach custom keytops slowly, working in small sections. Round caps reveal crooked alignment immediately, so check each row from the front and side before the adhesive cures. If you are using printed legends or inserts under clear tops, confirm readability under your normal desk lighting.
Test every key before finishing
Run a full key test before applying final lacquer, wax, trim, or felt. Press each key several times and check for clean return, rubbing, missed inputs, and accidental neighboring presses. If something feels wrong, stop and correct it now; repairs become much messier once the finish is sealed.
How to keep the keyboard comfortable
Comfort is where many steampunk builds fail. A keyboard can look impressive in photos and still be unpleasant after ten minutes of typing. Treat comfort as a build requirement, especially if the board will be used for work, writing, gaming, or school rather than occasional display.
Maintain consistent key height
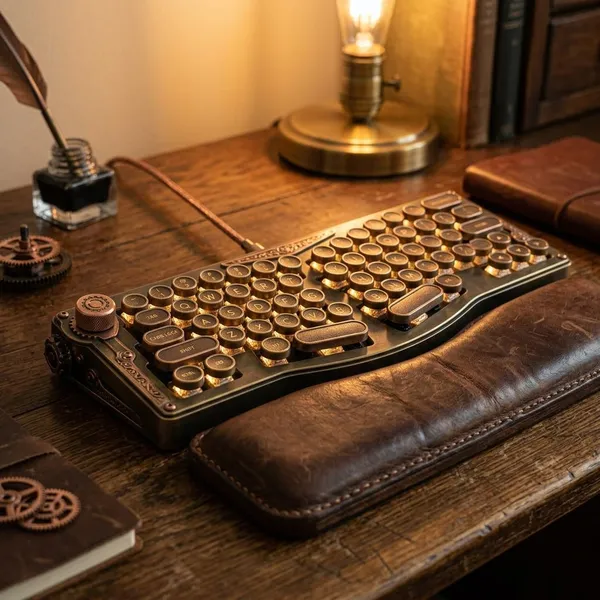
Uneven key height makes typing feel unpredictable. Sort your keytops before installation, sand or shim only where needed, and compare each row as you go. For daily typing, consistent height matters more than using the most historically authentic parts.
Leave enough space between keys
Round keys need breathing room. Oversized tops may look closer to an antique typewriter, but they can cause accidental presses if the donor layout is already tight. If you notice your fingers catching on neighboring caps during a short test, choose smaller tops or adjust the mounting before moving further.
Keep the wrist angle natural
A thick front edge is one of the easiest ways to make the keyboard uncomfortable. Test the board on the desk where it will actually be used, with your normal chair and monitor height. If your wrists bend upward sharply, lower the front edge, reduce the feet, or use a wrist rest that matches the final height.
Avoid heavy decorative parts
Keep moving parts light. Heavy metal pieces attached to keycaps can slow key return, stress switches, and make fast typing or gaming feel sluggish. Put the visual weight in the outer frame instead: brass trim, metal corner pieces, and decorative screws can create the same style without interfering with the keys.
Test the layout during the build
Do not wait until the keyboard is finished to decide whether it feels good. After a few rows are installed, type a short paragraph, try common shortcuts, and press the keys you use most. A writer may care most about letter rows and punctuation; a gamer should test WASD, number keys, Shift, Ctrl, and Space before locking in the design.
Conclusion
A good steampunk keyboard starts as a reliable keyboard and only then becomes a vintage-looking one. If you want a display piece, you can be more dramatic with heavy parts and unusual materials; if you want something for daily typing, keep the keytops light, the layout familiar, and the front edge comfortable. The build is worth doing when the finished board still feels like a tool, not just a decoration.
FAQ
Do you need a mechanical keyboard?
No, but a mechanical keyboard is often easier to customize cleanly. A membrane board can work if the keycaps come off safely and the keys still register reliably after modification.
How hard is a steampunk keyboard build?
A simple cosmetic build is manageable for a careful beginner. The difficult parts are accurate measuring, clean key alignment, and building a frame that does not interfere with typing.
How do you keep it practical for daily typing?
Build around comfort decisions, not just the theme. Use a familiar layout, keep key height even, avoid oversized caps, and test real typing before any permanent finishing step.
Do you need a mechanical keyboard?
No, but a mechanical keyboard is often easier to customize cleanly. A membrane board can work if the keycaps come off safely and the keys still register reliably after modification.
How hard is a steampunk keyboard build?
A simple cosmetic build is manageable for a careful beginner. The difficult parts are accurate measuring, clean key alignment, and building a frame that does not interfere with typing.
How do you keep it practical for daily typing?
Build around comfort decisions, not just the theme. Use a familiar layout, keep key height even, avoid oversized caps, and test real typing before any permanent finishing step.