
A diy steampunk coffee maker is safest when the coffee-making part stays original and the steampunk work happens around it. Start with a brewer that already works, then add a stable frame, aged-metal details, and decorative pipes or gauges without touching the water path, pressure parts, heating parts, or wiring.
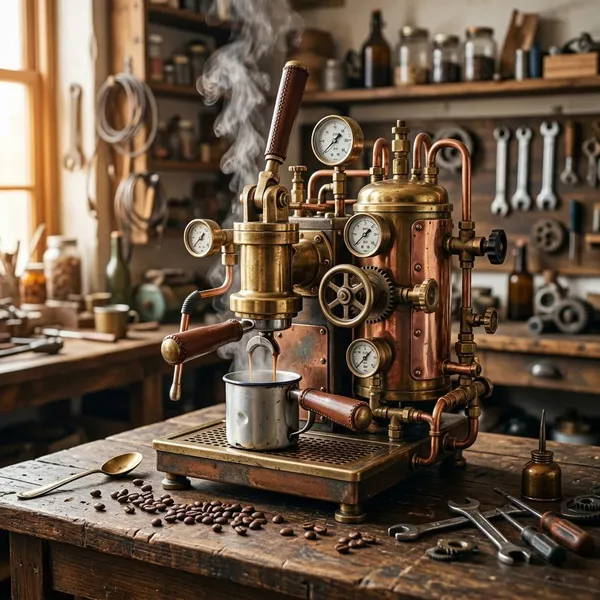
What makes a coffee maker steampunk
The steampunk look comes from making a normal brewer feel like a small Victorian-era machine: part workshop tool, part laboratory device, part brass-and-wood contraption. The trick is not to make the brewing system more complicated. The better build is usually the one that looks imaginative but still fills, brews, pours, and cleans like a normal coffee maker.
A working brewer at the center
Use a real brewer as the heart of the project: a pour-over dripper, siphon brewer, moka pot, or intact drip machine. That keeps the important parts—water contact, heat control, pressure handling, and coffee flow—inside equipment that was already designed for brewing.
- Best sign: the brewer can still be removed, cleaned, and used on its own.
- Warning sign: the frame has to hold water, carry steam, or replace a factory part.
- Common mistake: building a "brewer" from decorative plumbing that was never meant for food or heat.
Victorian industrial styling
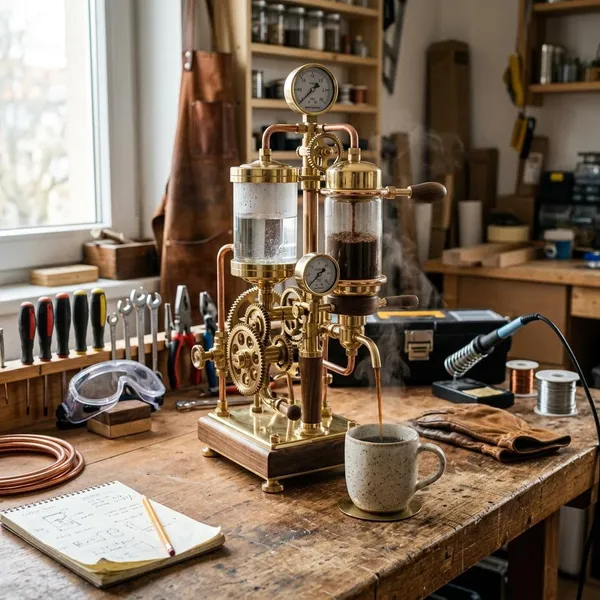
Dark stained wood, brass tones, black metal brackets, visible screws, curved supports, and aged finishes usually do more than a pile of random gears. A small pour-over stand with a warm wood base and two brass-colored uprights can look more convincing than a crowded box covered in parts.
Gears, gauges, pipes, and aged metal
Gears and gauges work best as visual cues, not fake functional promises. A gauge mounted on the side of a frame can suggest pressure without being connected to anything. A short pipe section can act as a handle or trim line without carrying water. A gear cluster can fill an empty corner without touching the brewer.
Keep these pieces light and easy to wipe around. Heavy salvaged metal may look authentic, but it can loosen small frames, scratch counters, or introduce unknown coatings near a kitchen appliance.
Decorative parts kept separate from brewing parts
This is the rule that keeps the project sensible: anything decorative stays away from water, coffee, steam paths, filters, pressure chambers, heating elements, and food-contact surfaces. Paints, adhesives, craft metals, reclaimed fittings, and faux-aged parts may be fine on a frame, but they should not become part of the brewing system.
For daily use, separation also makes cleaning less annoying. The brewer can be washed normally, while the steampunk frame only needs wiping and occasional tightening.
Best brewing bases for a steampunk build
The best base depends on how much risk, effort, and maintenance you want. If this is your first build or you want something for regular mornings, choose simple and open. If the project is mainly for display or weekend brewing, you can use a more dramatic base as long as heat and access stay under control.
| Brewer base | Best for | Main caution |
|---|---|---|
| Pour-over | First build, low-risk daily use | Keep the stand level and leave enough mug space |
| Siphon | Visual drama and occasional brewing | Protect glass, flame clearance, and hand access |
| Moka pot | Compact stovetop styling | Style only around it; do not modify the pot |
| Intact drip machine | Convenience with a hidden modern brewer | Do not block vents, controls, reservoir, or removable parts |
Pour-over for the simplest project
A pour-over is the easiest base because the stand does not need to contain electricity, pressure, or a built-in heater. You mainly need a stable base, a level dripper support, and enough room for the mug or server below.
This is the best choice if you want a weekend project that still works on Monday morning. For example, a person making one or two cups before work will usually appreciate an open pour-over stand more than an elaborate enclosed build that takes extra time to clean.
Siphon brewer for visual drama
A siphon brewer already looks like steampunk lab equipment, so it does not need much decoration. Let the glass chambers stay visible and use the frame to support the shape rather than hide it.
- Leave space around heat: no trim, fabric, adhesive, or low-grade plastic near flame or hot glass.
- Stabilize the glass: avoid side decorations that can catch a hand or knock the brewer.
- Keep it occasional if needed: this setup is better for slow weekend brewing than rushed daily use.
Moka pot for exterior-only styling
A moka pot can look like a tiny boiler, but the pot itself should remain intact. Do not drill it, add fittings to it, block its normal operation, or attach decorations that interfere with heat, pressure release, or handling.
Intact drip machine for an enclosed build
An intact drip machine works well when you want automatic coffee but dislike the modern plastic look. Build a shell or cabinet around the machine, not into it. The reservoir, basket, carafe, switches, warming plate, cord, and steam exits all need to remain accessible.
This option suits long-term daily use if the shell is practical. A removable front panel, open top clearance, and generous venting matter more than extra trim. If filling the reservoir becomes a two-handed puzzle, the design has gone too far.
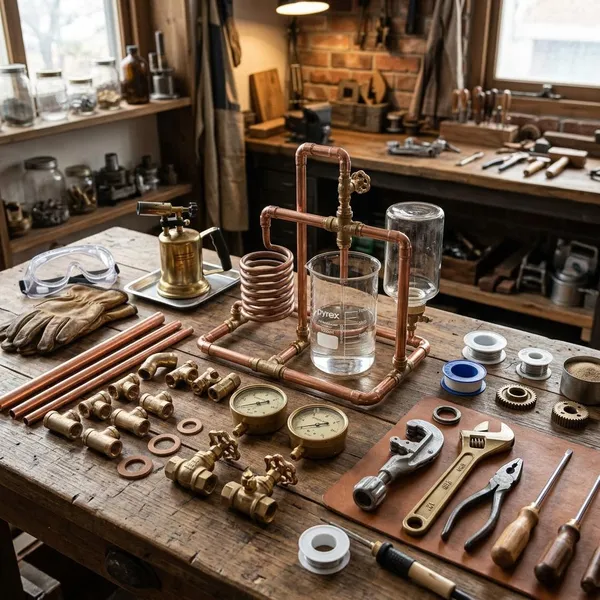
Materials and tools for the build
Choose materials as if the coffee maker will be used half-awake, near hot water, and on a real kitchen counter. Good-looking parts are not enough. The frame should stay steady, resist mild moisture, and avoid shedding finish or sharp edges near the brewer.
A complete working brewer
Start with a brewer that already makes coffee properly and has no damage. Measure it before buying decorative parts: full height, width, lid swing, carafe path, handle clearance, filter access, cord location, and the tallest mug or server you realistically use.
If you are styling an older electric machine, be more cautious. A vintage-looking machine is not automatically a safe machine, and an old cord, damaged casing, or unreliable heater should not be hidden inside a decorative shell.
Wood or metal for the frame
Wood is easier for most home builders to cut, drill, sand, stain, and adjust. Metal gives a stronger industrial feel and can be slimmer, but it may require better tools and cleaner alignment.
A mixed frame often works best: a heavy wood base for stability, metal uprights for the machine-like shape, and small brass or black fittings for detail. For a tall pour-over stand, favor a wider base over a narrow "elegant" footprint; hot water and a top-heavy frame are not a good combination.
Gears, gauges, and decorative fittings
Use decorative fittings as accents with a job in the composition. One gauge can anchor the side. A pair of brackets can frame the brewer. A few gears can echo the theme. Covering every surface usually makes the project look less intentional and harder to clean.
- Good choices: lightweight faux gauges, cabinet hardware, corner straps, brass-colored trim, small gear sets.
- Use with caution: reclaimed industrial parts with unknown coatings, sharp edges, heavy valves, oily metal.
- Avoid near brewing: painted parts, glued ornaments, mystery metals, and anything that traps water.
Heat-safe fasteners and finishes
Rely on screws, brackets, washers, and snug mechanical supports more than glue. Heat and steam can weaken some adhesives, especially around drip machines, moka pots, and siphon setups.
Finishes should be fully cured before the brewer is installed. For wood, seal surfaces that may catch coffee drips. For metal, smooth sharp edges and choose coatings that will not flake easily in a warm, damp kitchen area. When in doubt, keep the finish on the outer frame and away from the brewer itself.
Basic measuring and hand tools
You do not need a machine shop for most builds, but you do need careful measuring. A tape measure, square, pencil, level, drill, bits, screwdriver, clamps, saw, sandpaper, file, safety glasses, and gloves cover many simple frames.
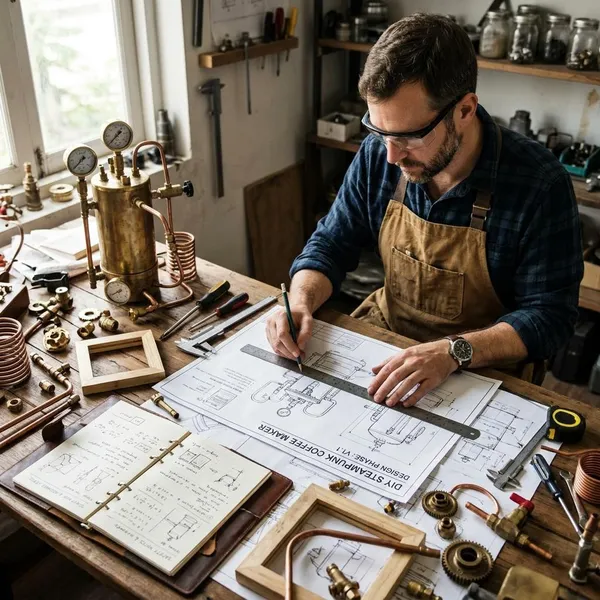
How to plan the coffee maker
Planning should answer one question before anything is cut: can someone use this safely on a normal coffee-making day? A good sketch includes the brewer, cup space, hand paths, hot zones, water paths, cleaning access, cord path if electric, and the decorative pieces that must stay clear.
Do a temporary layout on the counter with tape, cardboard, scrap wood, or blocks. It is much easier to move a fake gauge on a sketch than to remove it after it blocks the reservoir lid.
Measure the brewer and cup space
Measure the brewer in the positions it actually uses, not just when it is sitting closed. Open the lid, swing the handle, remove the carafe, lift the filter basket, and place the tallest cup or server underneath.
- Pour-over: check dripper height, server height, and hand room for pouring.
- Drip machine: check reservoir lid clearance and carafe removal angle.
- Siphon: check glass height and space around the heat source.
- Moka pot: check handle access and clearance from hot metal.
Mark heat and water zones
Use masking tape to mark steam exits, hot surfaces, splash areas, refill paths, and places your hands naturally go. Those zones should stay free of glued ornaments, delicate finishes, loose trim, and anything that could trap moisture.
This check matters most for higher-risk layouts: a siphon with flame, a moka pot near hot metal, or a drip machine inside a shell. If steam has nowhere to escape or your hand brushes a decorative metal edge every time you brew, change the design before building.
Plan access for filling and cleaning
Design for the boring tasks because they decide whether the coffee maker gets used. You should be able to add water, place filters, dump grounds, lift lids, remove the brewer, wipe spills, and wash normal parts without fighting the frame.
A removable brewer or open cradle is usually better than a tight decorative cage. For occasional display, a snug look may be acceptable. For daily coffee, leave more space than you think you need.
Balance the frame and brewing parts
Stability is not only about how the finished piece looks when empty. Test the frame with the brewer full, with the mug in place, and while you perform normal movements such as pouring, opening, and removing parts.
If the build feels top-heavy, widen the base, lower the brewer, reduce side-mounted weight, or add hidden weight underneath. Do not trust a narrow tall stand just because it looks fine in a photo; hot liquid makes small balance problems much less forgiving.
Sketch the decorative layout
Place decoration after the functional layout is solved. Pick one focal point, such as the brewer glass, a gauge cluster, or a valve-style handle, then repeat only two or three design details around it.
- Choose the focal point: decide what the eye should notice first.
- Repeat a small palette: brass, black metal, dark wood, or aged steel.
- Leave working space: empty space around lids, controls, cups, and hand paths is useful, not wasted.
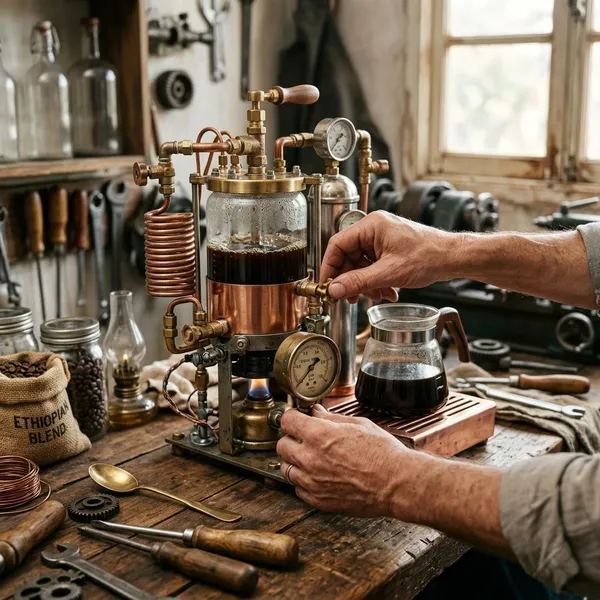
How to build a DIY steampunk coffee maker
Build in this order: base, brewer support, outer frame, decoration, protection, testing. That sequence keeps the useful parts adjustable until you know the brewer still works comfortably.
Work slowly at the fitting stage. Most problems are not dramatic; they are small annoyances such as a blocked lid, a cup that barely fits, a screw that catches a hand, or trim that sits too close to steam.
Prepare and finish the base
Cut or choose a base that sits flat and feels heavier than the upper frame. Sand edges, round sharp corners, and seal or finish the surface before adding parts that make it hard to reach.
For a pour-over or siphon build, test the base with the brewer height mocked up before staining or painting. If the base already feels narrow at this stage, it will not feel better after ornaments and hot water are added.
Secure the intact brewer
Support the brewer from the outside with a shelf, cradle, ring, bracket, or open platform. Do not drill into food-contact areas, pressure chambers, water tanks, heating plates, or electrical housings.
- Set the brewer in place: check cup, lid, handle, filter, and carafe movement.
- Fit supports loosely: confirm the brewer sits level and can be removed if needed.
- Tighten only after testing: make sure no screw, bracket, or trim rubs a functional part.
Add the outer support frame
Add uprights, side panels, rails, or trim once the brewer support is correct. Keep the frame square and simple enough that it strengthens the build instead of trapping the brewer.
On an enclosed drip-machine build, leave openings for steam and the power cord. On an open pour-over build, keep vertical supports out of the pouring path. On a siphon build, frame the glass rather than crowding it.
Attach lightweight decorations
Add the largest decorative piece first, then stop and look at the whole build from normal counter distance. A gauge, valve wheel, or pipe handle often needs only a few smaller pieces around it to feel complete.
Mount decorations where they are easy to wipe and unlikely to be bumped. If a gear sits exactly where your fingers go to lift the reservoir lid, it is decoration in the wrong place.
Protect hot and exposed surfaces
Smooth sharp edges, shorten protruding screws, and move trim away from hot or high-touch areas. If needed, add a heat shield or extra spacing, but avoid creating a hidden pocket where heat or moisture can collect.
Check every control and opening
Before calling the build finished, test every normal action with the machine cold: fill water, add coffee, place the cup or carafe, open lids, reach controls, remove parts, and wipe the counter area around it.
Then run water-only tests. Watch for wobble, trapped steam, softening finish, rattling decorations, awkward cord placement, or parts that become too warm to touch. Fix those issues before brewing coffee in it, because coffee residue makes later adjustments messier.
Conclusion
The best steampunk coffee build is not the one with the most gears; it is the one that still makes coffee safely after the novelty wears off. Keep the brewer intact, give heat and cleaning more space than decoration, and choose the base that matches your real routine—simple pour-over for everyday ease, siphon for show, moka pot for exterior styling, or an intact drip machine for convenience.
FAQ
What is the easiest brewer for a steampunk build?
A pour-over brewer is the easiest choice. It avoids electrical modification and pressure concerns, and the stand can stay open, stable, and easy to clean.
Can copper pipes touch the brewing water?
Do not use decorative copper pipe in the water path. Unless a part is specifically intended for food-safe brewing use, keep it on the outside as visual trim only.
Can you safely convert an electric coffee maker?
Only in the sense of styling around it. Keep the appliance intact, avoid wiring or heater changes, and leave vents, controls, reservoir access, carafe space, and the cord path unobstructed.
Should the gauges and valves be functional?
For most home builds, no. Decorative gauges and valves give the right look without adding pressure, leaks, maintenance, or safety questions.
Can you build a steampunk coffee maker without electricity?
Yes. A pour-over stand is the simplest non-electric option, while a moka pot or siphon can also work if the frame respects heat, handling, and cleaning space.
What is the easiest brewer for a steampunk build?
A pour-over brewer is the easiest choice. It avoids electrical modification and pressure concerns, and the stand can stay open, stable, and easy to clean.
Can copper pipes touch the brewing water?
Do not use decorative copper pipe in the water path. Unless a part is specifically intended for food-safe brewing use, keep it on the outside as visual trim only.
Can you safely convert an electric coffee maker?
Only in the sense of styling around it. Keep the appliance intact, avoid wiring or heater changes, and leave vents, controls, reservoir access, carafe space, and the cord path unobstructed.
Should the gauges and valves be functional?
For most home builds, no. Decorative gauges and valves give the right look without adding pressure, leaks, maintenance, or safety questions.
Can you build a steampunk coffee maker without electricity?
Yes. A pour-over stand is the simplest non-electric option, while a moka pot or siphon can also work if the frame respects heat, handling, and cleaning space.