
If you are searching for a telescope steampunk piece, decide first whether it needs to look good, work well, or do both. A brass spyglass can be perfect for cosplay but disappointing under the night sky, while a plain working refractor can become a convincing steampunk build with careful exterior changes. The safest rule is simple: choose optics and stability first when you want to observe, and choose materials, weight, and finish first when it is mainly for display or costume use.
What makes a telescope steampunk
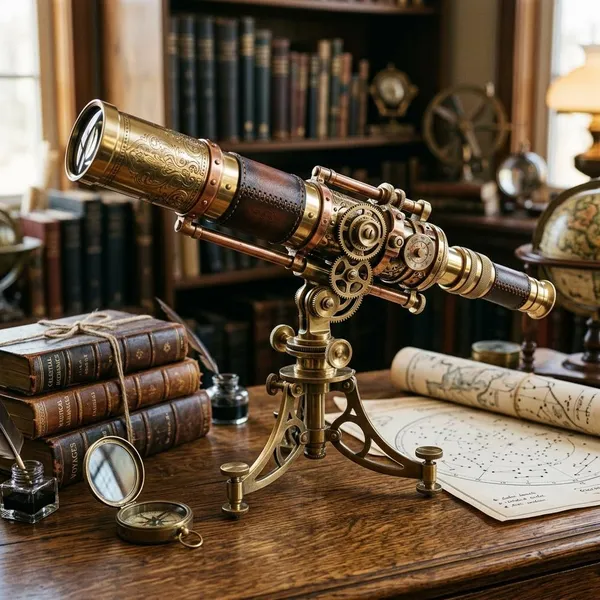
A steampunk telescope usually borrows from Victorian science, old navigation tools, brass instruments, and exposed mechanical design. The look works best when the details feel like they belong on an explorer's desk, an observatory, or an airship control room—not when random gears are glued everywhere.
Victorian-inspired shapes
Long tubes, tapered sections, decorative collars, and tripod forms give a telescope that historical scientific feel. For decor, this shape creates instant atmosphere; for a working build, a simple refractor is useful because it already has the right long, elegant profile.
Brass and copper finishes
Brass and copper finishes are the quickest visual shortcut to steampunk style. Real brass looks rich, but it adds weight and cost, so painted aluminum, thin metallic sheets, wax finishes, or carefully aged paint are often more practical.
- For display: choose depth, patina, and clean seams over high shine.
- For cosplay: avoid finishes that flake onto gloves or clothing.
- For astronomy: keep added metal light so the tube stays balanced.
Gears, dials, and exposed hardware
Gears and dials should suggest function, even when they are decorative. They look more convincing near mount hubs, tube rings, side plates, or adjustment areas than scattered across the main tube.
Wood and leather details
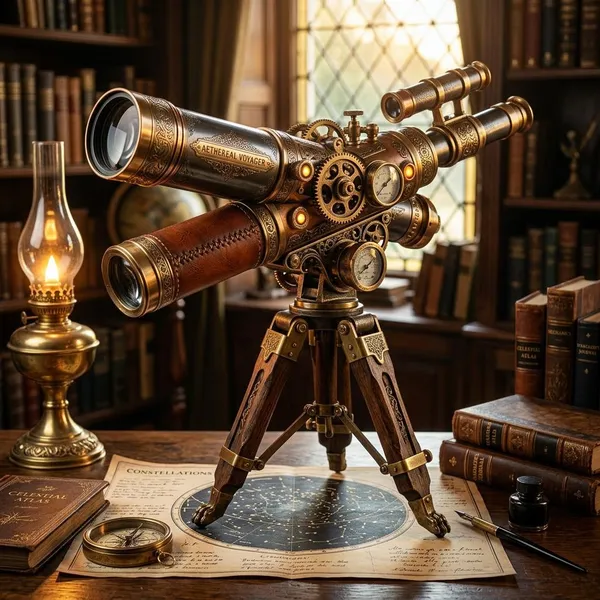
Wood and leather add warmth to all the brass and copper. A stained wood tripod, leather grip wrap, small trim ring, or lined storage case can make a piece feel more handmade and less like a mass-produced novelty.
Types of steampunk telescopes
Not every steampunk telescope is meant to show stars. Some are props, some are furniture pieces, some are model kits, and a smaller group are real optical instruments with a themed exterior. This distinction matters more than the finish.
Use the type as your first filter. A decorative telescope can be beautiful and still be a poor tool for observing; a working telescope can look less ornate but be far more satisfying outside on a clear night.
Handheld brass spyglasses
Handheld brass spyglasses are best for cosplay, themed photography, gifts, and shelf display. They are compact, recognizable, and easy to carry, especially if they collapse into a shorter tube.
For stargazing, they are usually the wrong choice. Handholding makes the view shaky, the field of view is often narrow, and many novelty spyglasses use simple optics. They can be fun for daytime scenery, but do not buy one expecting crisp views of planets.
Tripod display telescopes
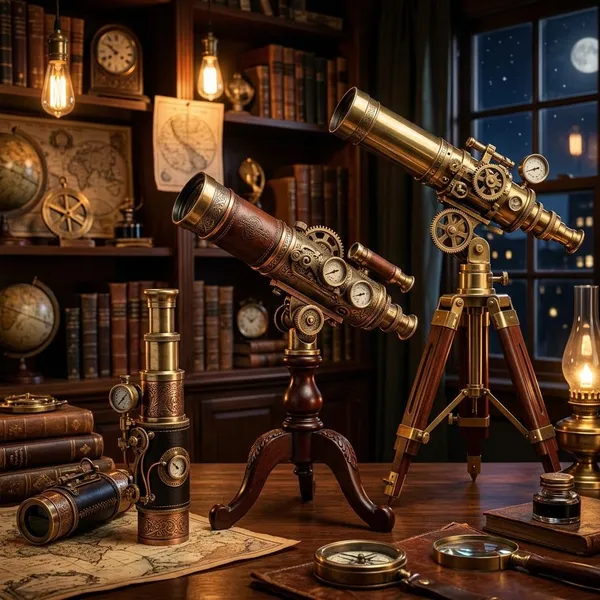
A tripod display telescope is mainly a decor object. It suits a study, library corner, office, bar, or living room where the goal is atmosphere. Look for sturdy legs, clean joints, and a finish that still looks good in normal room light rather than only in polished product photos.
If you want occasional daytime use, check whether the mount holds its position and whether the lenses are glass. Treat usable optics as a bonus, not the main promise, unless the seller gives clear optical details.
Mechanical model kits
Mechanical model kits are for people who enjoy building as much as owning the finished object. They may include gears, wood pieces, moving parts, and decorative telescope shapes, but most are not real astronomy tools.
They make sense for a desk display, a hobby gift, or a low-risk first project before modifying a real telescope. Before buying, check whether the kit needs painting, glue, sanding, or only simple assembly.
Working refractor telescopes
A working refractor is often the best base for a practical steampunk telescope. The long tube already feels period-correct, and the design is usually simple enough for beginners to use.
This is the better route if you want to view the Moon, bright planets, or daytime landscapes. Keep the optics original, add light exterior details, and make sure the tripod stays steady after each change.
Custom astronomy builds
Custom builds are for people who want real observing performance and a personalized look. You might start with a refractor, Newtonian reflector, or Dobsonian-style scope, then add brass-toned paint, wood trim, leather, labels, or gear accents.
The tradeoff is planning. A collector-style build can look fantastic, but it still has to point smoothly, stay balanced, and leave the eyepiece comfortable to reach. If you care about both style and actual viewing, this is usually the most rewarding path.
Which steampunk telescope fits your needs
The right choice depends on the job. Someone decorating a bookshelf needs a different telescope from someone walking around a convention for six hours, and both need something different from a backyard observer.
| Use case | Best fit | What to check first |
|---|---|---|
| Home decor | Tripod display telescope or tabletop spyglass | Proportions, finish, room scale |
| Cosplay | Lightweight brass-style spyglass | Weight, smooth edges, durability |
| Hobby building | Mechanical kit or simple telescope base | Required skill level and parts quality |
| Collecting | Handmade or limited custom piece | Materials, maker details, originality |
| Stargazing | Working refractor or custom astronomy build | Optics, mount stability, balance |
Display models for home decor
For decor, judge the telescope like furniture. The finish should suit the room, the legs should not look flimsy, and the size should match the space. A tall brass-and-wood tripod can anchor a large study, while a compact spyglass may be better on a small shelf or apartment desk.
Spyglasses for cosplay
A cosplay spyglass should be light, comfortable, and safe to handle. Smooth edges matter because props brush against sleeves, belts, bags, and gloves all day.
- Choose collapsible designs if you need to pack it in a small bag.
- Avoid heavy solid metal for long conventions or performances.
- Check the sliding action so it does not jam during photos.
- Look for secure caps or fittings that will not fall off easily.
Kits for hobby building
Kits are a good fit if the making process is part of the fun. A beginner may prefer a laser-cut wooden kit with clear instructions, while a more experienced maker may enjoy painting, weathering, and adding extra trim.
Do not assume a kit is functional because it looks like a telescope. Many are decorative models with simple lenses or no real optical use. If you want a build project and useful viewing, start with a real entry-level telescope instead.
Custom pieces for collectors
Collector pieces are about craftsmanship, rarity, and character. Mixed metals, engraved plates, hardwood parts, stitched leather, and careful aging can make a custom telescope feel far more special than a standard display model.
Ask whether it is display-only or actually usable. A beautiful handmade telescope may have weak optics, while a less ornate custom build may hide a capable working instrument inside.
Working models for stargazing
For stargazing, function wins. A modest working telescope with a stable mount will beat an ornate but shaky display piece every time. If the view wobbles when you touch the focuser, the styling will not make the Moon any sharper.
Prioritize in this order:
- Mount stability: the tube should stay where you point it.
- Usable optics: clear glass and sensible eyepieces matter more than extreme zoom claims.
- Balance: added decor should not make the front or rear drop.
- Setup effort: the telescope you can carry outside easily will get used more often.
How to choose a steampunk telescope
Start with the first check that matches your goal. For display, inspect the finish and proportions. For cosplay, pick it up mentally and ask whether you would still want to carry it after an hour. For observing, ignore the decorative parts until you know the optics and mount are worth using.
Decide how you will use it
Choose one main purpose before comparing models. A telescope that tries to be a decor piece, convention prop, collector item, and serious astronomy instrument at the same time often compromises too much.
If it will live on a shelf, appearance can lead. If it will travel to events, weight and durability lead. If it will go outside at night, the mount and optics lead. That one decision prevents most bad purchases.
Check the lenses and magnification
For a working telescope, lens quality is more important than dramatic magnification numbers. Be cautious with listings that advertise huge zoom but say little about aperture, glass quality, eyepieces, or focusing.
- Glass lenses are usually preferable to cheap plastic optics.
- Clear focus control matters for both daytime and night viewing.
- Coated optics are a useful sign, though quality still varies.
- Real user photos or reviews can reveal more than studio images.
Inspect the mount and balance
The mount decides whether a telescope feels pleasant or frustrating. For display, a stand only needs to hold the piece safely. For observing, it must resist wobble, move smoothly, and keep the tube from drifting.
Balance becomes even more important with steampunk customization. A few decorative parts at the front can make a light telescope nose-heavy. If you are buying a finished custom piece, look for photos that show the telescope aimed at different angles, not just posed horizontally.
Compare size and portability
Size affects how often you will use the telescope. A dramatic floor-standing model may look perfect in a large room but become annoying if you need to move it regularly. A smaller telescope may be less theatrical but more useful in a real home.
Review materials and build quality
Materials should match the intended use. Solid brass can be beautiful for a display object, but it may be too heavy for cosplay or a light telescope mount. Painted aluminum, wood trim, leather wraps, and resin details can be a better balance of look and practicality.
How to customize a working telescope
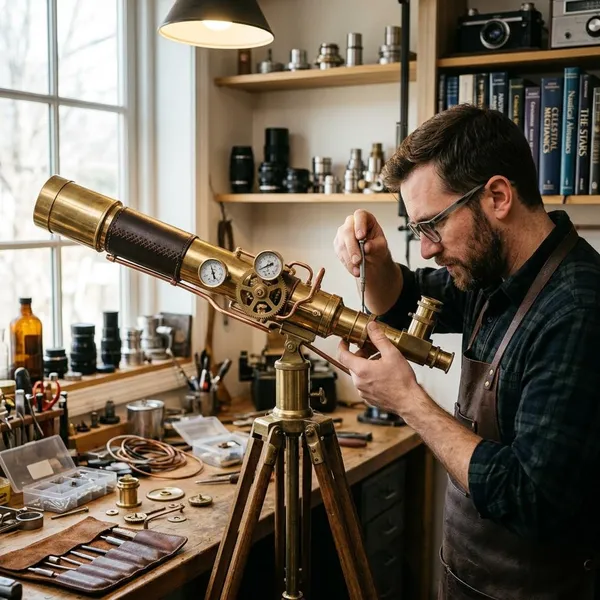
The easiest way to make a working steampunk telescope is to start with a telescope that already performs well, then change the exterior slowly. Do not rebuild the optical system unless you truly know what you are doing. Most good-looking DIY projects succeed because they leave the lenses, focuser, finder, and mount mechanics alone.
Start with a suitable base
A small refractor is usually the simplest base because the long tube already suits the Victorian look. A Newtonian or Dobsonian can also work, especially if you like wood panels or a chunkier mechanical style.
Use the telescope in its original condition first. If it shakes, slips, or gives poor views before customization, decorative work will only hide the problem, not fix it.
Add lightweight exterior details
Lightweight materials are your friend: faux brass paint, thin craft wood, leather strips, resin gears, labels, small brackets, and weathering wax. These create the mood without turning the telescope into a heavy, unbalanced object.
Build visual richness through layers rather than bulk. A painted tube with aged seams and a leather grip can look more convincing than a telescope covered in real metal parts.
Keep the optics and controls clear
Leave the lens opening, eyepiece, focuser, finder scope, adjustment screws, and ventilation areas unobstructed. Also leave room for your hands and face around the eyepiece, especially if you plan to use the telescope in the dark.
Maintain the mount balance
After each meaningful addition, point the telescope at several angles and see whether it stays put. If it drifts downward, tips, or becomes stiff, the weight distribution has changed too much.
- Move the tube in its rings if the mount allows adjustment.
- Use lighter trim before adding counterweights.
- Keep heavy details near the center rather than at the front or back.
- Stop adding parts once movement starts to feel worse.
Test the telescope after each change
Test in stages, not only at the end. Aim at a distant object during the day, check focus, move the mount through its range, then try an easy night target such as the Moon when conditions allow.
Take quick photos as you go. They help you spot when the design starts looking crowded, and they make it easier to undo the last change if performance or balance gets worse.
Conclusion
The best choice is the one that fits the real job, not the one with the most brass or the most gears. Pick a display telescope for atmosphere, a light spyglass for cosplay, a kit for hands-on building, or a stable working refractor if you actually want to observe. If you want both style and night-sky use, start with a reliable telescope and add steampunk details lightly enough that the view still matters.
FAQ
Are steampunk telescopes functional or decorative?
They can be either. If the listing focuses only on finish and decor photos, treat it as decorative unless it clearly states optical details and mount quality.
Is a brass spyglass suitable for stargazing?
Usually only for very casual use. A handheld spyglass is difficult to keep steady at night, so a mounted refractor is a much better choice for the Moon or planets.
Which telescope works best for a steampunk build?
A small refractor is the easiest starting point for most people. Its long tube already looks vintage, and you can change the exterior without disturbing the optics.
Can decorations affect telescope performance?
Yes. Added weight, blocked controls, or poor balance can make a working telescope harder to aim and focus, so test the telescope after every significant change.
Are steampunk telescopes functional or decorative?
They can be either. If the listing focuses only on finish and decor photos, treat it as decorative unless it clearly states optical details and mount quality.
Is a brass spyglass suitable for stargazing?
Usually only for very casual use. A handheld spyglass is difficult to keep steady at night, so a mounted refractor is a much better choice for the Moon or planets.
Which telescope works best for a steampunk build?
A small refractor is the easiest starting point for most people. Its long tube already looks vintage, and you can change the exterior without disturbing the optics.
Can decorations affect telescope performance?
Yes. Added weight, blocked controls, or poor balance can make a working telescope harder to aim and focus, so test the telescope after every significant change.