
If you want a diy steampunk lighter, the safest answer is to decorate a removable case, sleeve, or non-working prop—not the lighter's fuel, ignition, vents, lid, or flame area. A working lighter should still behave exactly like it did before the decoration was added. If you want big gears, faux pipes, and dramatic weathering, make a prop instead of pushing a real lighter past safe limits.
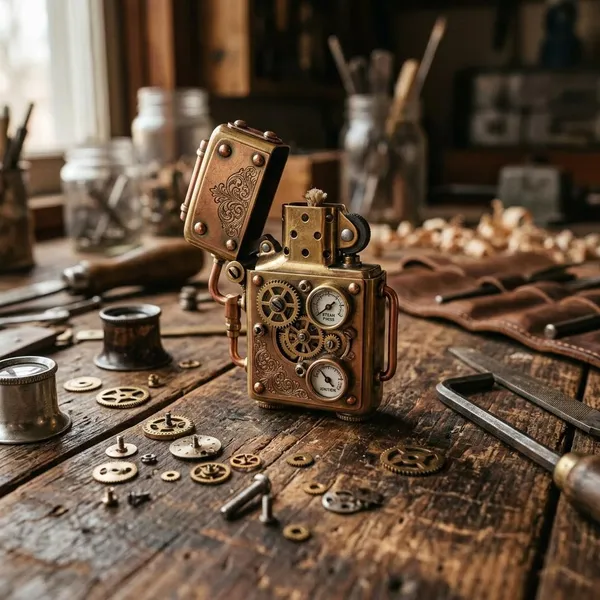
What makes a lighter look steampunk
Steampunk style works best when the lighter looks like a small Victorian-era machine: aged metal, visible hardware, leather, engraved details, and a clear sense of purpose. On something this small, restraint matters. One well-placed gear and a clean brass finish usually look better than covering every surface with parts.
Aged brass and copper finishes
Brass, copper, bronze, and gunmetal tones instantly give the project an antique workshop feel. You do not need real brass or copper for every piece; metal-safe paint, wax, or a patina-style finish can create the look on a removable shell or display prop.
Keep finishes thin on anything meant to be handled. Thick paint can chip, rub off, or build up near edges. For a display-only build, you have more freedom to add darker weathering, greenish oxidation effects, or soot-like shading because it will not be going in and out of a pocket.
Gears, rivets, and pipe details
Small flat-backed gears, faux rivets, screw-head details, and thin wire can suggest machinery without making the lighter bulky. The mistake is using parts that are too tall or sharp; they snag on fabric, make the case uncomfortable, and can shift toward areas that should stay clear.
- For pocket use: choose low-profile parts with smooth edges.
- For cosplay or display: larger gears and faux pipes are safer because the object does not need to function.
- For a cleaner look: use one focal detail instead of many random pieces.
Victorian engraving and leather accents
Engraved borders, scroll patterns, monograms, and small plaques make the design feel more deliberate. Thin leather bands or inlays can add warmth and grip, especially against brass or copper tones.
Leather should stay low on a functional case and away from the hot upper section. A dark brown band with a small antique brass plate is often enough to create the Victorian feel without adding risky bulk.
A clear mechanical theme
A clear theme keeps the build from looking like spare parts glued to a lighter. Pick one idea before adding details: an airship engineer's tool, a clockwork inventor's pocket piece, a laboratory igniter prop, or a worn workshop accessory. That choice tells you which colors, fittings, and textures belong—and which ones to leave off.
Safer DIY steampunk lighter options
The safest option depends on how the finished piece will be used. A lighter that goes in a pocket every day needs a very different design from a costume prop that only has to look good in photos.
| Project type | Best when you want | Main limit |
|---|---|---|
| Removable outer case | A usable lighter with mild decoration | Must not restrict the lid, controls, vents, or flame path |
| Slip-on sleeve | A simple beginner-friendly customization | Works best with thin, low-profile materials |
| Non-working prop | Bold cosplay details and dramatic styling | Should be clearly marked as non-functional |
| Display piece | A decorative gift or shelf object | Not suitable for real ignition or pocket use |
A removable outer case for practical use
A removable outer case is the best choice if you still want a working lighter. The case holds the decoration while the actual lighter stays unchanged. That gives you one important safety advantage: if the fit feels wrong, you can remove the case immediately and compare the lighter's normal function.
For daily carry, keep the design slim. Raised gears, dangling charms, and thick trim may look good on a desk, but they become annoying fast when the lighter sits in a pocket or bag.
A slip-on sleeve for simple customization
A slip-on sleeve is a good beginner option because it usually covers only the body and leaves the top area more open. Thin leather, light metal sheet, or a pre-shaped decorative wrap can create the look without turning the whole object into a heavy shell.
After each change, slide the sleeve on and off a few times. It should not scrape, pinch, twist, or make the lighter harder to grip.
A non-working prop for cosplay
A non-working prop is the right choice when you want oversized gears, faux valves, painted grime, or a more theatrical steampunk silhouette. Since there is no flame, fuel, or ignition, you can use lighter craft materials such as resin, wood, plastic, or foam where appropriate.
A display piece for decor or gifting
A display piece works well when the goal is a themed gift, shelf decor, or collector-style object. You can add a stand, label plate, presentation box, or fictional maker's mark to make it feel finished.
If the piece resembles a real lighter, make the non-functional nature obvious on the underside, tag, or packaging. That small detail prevents confusion later.
Safety rules before you start
Before choosing materials, decide whether you are making a working case or a non-working object. If it will ever be used as a lighter, the decoration must stay external, removable when possible, and clear of heat, airflow, hinges, and controls.
Check these points first:
- Does the lid open exactly as before? If not, the decoration is too close.
- Are vents and the flame path fully clear? Nothing decorative should sit near the opening.
- Can your fingers reach the controls easily? Sharp or raised trim near controls is a problem.
- Does anything shift when handled? Loose parts do not belong on a working lighter.
- Does the lighter feel hotter, smell odd, or behave differently? Stop using it.
Never alter the fuel or ignition system
Do not drill into, open, reroute, seal, or replace any part connected to fuel, ignition, pressure, spark, or flame. Even a small change can create leaks, unreliable ignition, flare-ups, or failure. If the design requires internal modification, switch to a non-working prop.
Keep the flame path and vents clear
The upper area of a functional lighter should stay clean and open. Decorative parts must not lean toward the flame, cover venting, trap heat, or sit where they could scorch.
Leave the lid, hinge, and controls free
The lid should open smoothly, the hinge should not rub, and buttons or striker wheels should be easy to reach without your fingers scraping over hardware. A stiff lid or cramped control is not a "minor inconvenience" on a flame device; it is a sign the case design needs to change.
Use lightweight heat-tolerant materials
Choose thin metal, smooth trim, carefully placed leather, and attachments suited to the material and expected warmth. Avoid bulky plastic pieces, foam, fabric trim, low-temperature glue, or anything that softens, chars, smells, or deforms near heat.
If you are not sure a material belongs near a working lighter, use it on a display prop instead. That lets you keep the look without guessing about safety.
Stop using the lighter if its function changes
Stop immediately if ignition becomes harder, the flame pattern changes, the lid sticks, the case shifts, the top feels unusually hot, or you notice a new smell. Remove the sleeve or case and test only after the lighter has cooled and been inspected. If normal function does not clearly return, retire it rather than trying to "fix" it with more craft work.
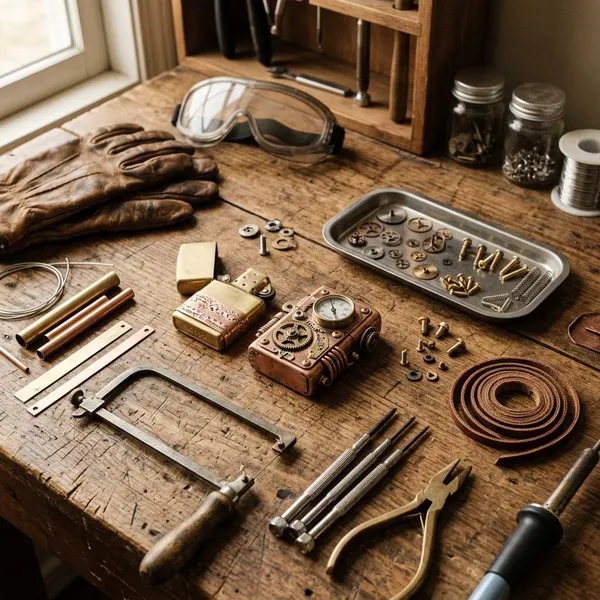
Materials for a steampunk lighter case
For a working case, materials should be slim, secure, smooth-edged, and placed away from the hot zone. For a prop, you can choose more freely because the object does not need to ignite or survive regular handling.
Small metal gears and charms
Use small, flat-backed gears and charms that match the scale of the case. One focal gear plus two smaller details usually looks more convincing than a crowded cluster.
Avoid sharp teeth, dangling loops, and heavy cast pieces on anything functional. Those details are better for a display build where snagging and heat clearance are not concerns.
Thin leather and metal trim
Thin leather works well for bands, inlays, or grip areas. Metal trim can frame edges or divide sections, especially if you want the case to look like a small engineered panel rather than a painted box.
- Good use: narrow leather band on the lower body.
- Risky use: thick leather near the flame area.
- Good use: smooth metal edging with no sharp corners.
- Risky use: bulky trim that catches when handled.
Rivets, screws, and wire details
Faux rivets and screw-head details add the look of construction without drilling into the lighter. Thin craft wire can suggest pipes or conduits, but keep it shallow and firmly attached on a working case.
Metal-safe paint and protective finish
Metal-safe paint helps mixed materials look unified. A darker base, a brass or copper layer, a thin dark wash in recesses, and light edge highlights can make simple parts look aged and mechanical.
Use thin coats and let each layer cure properly. Heavy paint can blur detail, chip unevenly, or create ridges that affect fit on a sleeve or case.
Removable or heat-rated attachments
Removable fasteners or heat-appropriate adhesives are safer than mystery glue. The attachment should stay secure, sit away from heat, and allow inspection if something loosens.
A good rule for a functional case: if you would not trust the part to stay put during repeated handling, do not attach it. Save uncertain pieces for a non-working prop.
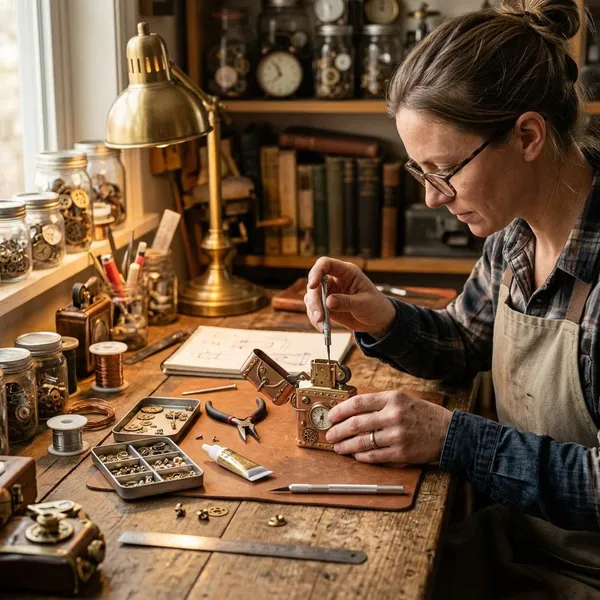
How to make a non-working steampunk prop
A non-working prop is the safest way to build a bold steampunk lighter shape. It is especially useful for beginners, cosplay, display shelves, or gifts where the look matters more than function. Treat it as a miniature sculpture from the beginning, not as a modified real lighter.
Start with a solid display shell
Choose a sturdy shell made from a craft material that can be shaped, sanded, painted, and handled without flexing too much. Resin, wood, sturdy plastic, or a similar firm base can work well.
Keep the size believable. If it is too large, it starts to look like a toy gadget; if it is too small, gears and trim will be hard to read.
Add lightweight mechanical details
Add gears, wire, faux rivets, trim bands, small plaques, and tube-like pieces after the base shape is settled. Work in stages instead of covering the whole shell at once.
- Pick one focal side for the strongest details.
- Leave some plain space so the design can breathe.
- Check the silhouette from a few angles before painting.
Create decorative controls and fittings
Faux knobs, capped tubes, small levers, and gauge frames make the prop feel like it could belong to a fictional machine. They do not need to move. They only need to look as if they have a purpose.
Apply an aged metal finish
Paint after the structure is complete. Start dark, build up brass or bronze tones, deepen recesses with a wash, and lightly highlight edges so the raised details catch the eye.
Match the weathering to the story. A laboratory-style prop may look cleaner and polished; an airship mechanic's pocket relic can handle more grime, tarnish, and uneven wear.
Mark the finished piece as non-functional
Add a clear non-functional mark on the underside, a tag, or the presentation packaging. It does not have to spoil the look, but it should prevent anyone from mistaking the piece for a usable lighter.
A simple build order keeps the project manageable:
- Choose the shell and final size.
- Pick one theme before adding parts.
- Attach details in small stages.
- Paint, weather, and seal the surface.
- Label it clearly as a prop or display piece.
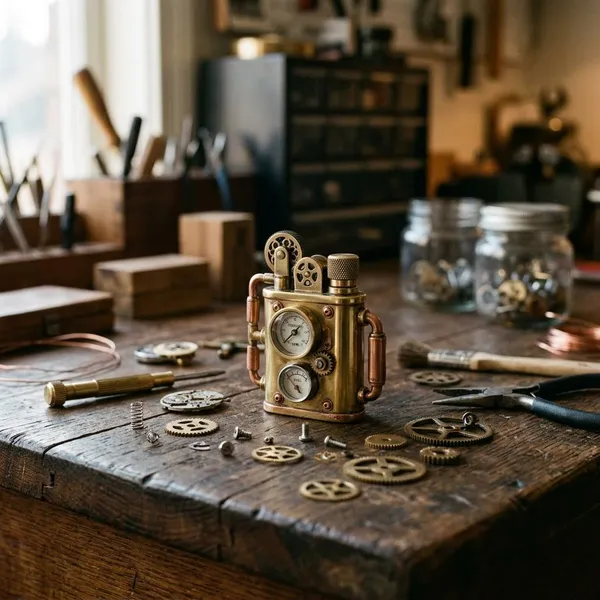
Conclusion
The best result comes from matching the project to the risk level: use a slim removable case for a real lighter, a sleeve for simple decoration, and a non-working prop when you want dramatic steampunk details. If any design choice interferes with heat, airflow, controls, or normal handling, it belongs on a display piece instead of a functional lighter.
FAQ
Is it safer to customize a lighter case than build a lighter?
Yes. A removable case keeps the working lighter intact, while building or modifying a lighter can affect fuel, ignition, sealing, or airflow. If you want a usable project, decorate the outside only.
Can beginners make a steampunk lighter prop?
Yes, and a prop is usually the best beginner choice. There is no flame or fuel to manage, so mistakes are easier to correct with sanding, repainting, or replacing decorative parts.
Can gears move on a functional lighter case?
Fixed gears are safer for a working case. Moving gears can loosen, snag, or shift into areas that need clearance, so save moving effects for a non-working display or cosplay prop.
What materials should stay away from the flame?
Keep plastics, foam, fabric, thick leather, low-temperature glue, loose paint, and bulky trim away from the hot upper area. Metal parts also need clearance, because even non-flammable details can block vents or redirect heat.
Is it safer to customize a lighter case than build a lighter?
Yes. A removable case keeps the working lighter intact, while building or modifying a lighter can affect fuel, ignition, sealing, or airflow. If you want a usable project, decorate the outside only.
Can beginners make a steampunk lighter prop?
Yes, and a prop is usually the best beginner choice. There is no flame or fuel to manage, so mistakes are easier to correct with sanding, repainting, or replacing decorative parts.
Can gears move on a functional lighter case?
Fixed gears are safer for a working case. Moving gears can loosen, snag, or shift into areas that need clearance, so save moving effects for a non-working display or cosplay prop.
What materials should stay away from the flame?
Keep plastics, foam, fabric, thick leather, low-temperature glue, loose paint, and bulky trim away from the hot upper area. Metal parts also need clearance, because even non-flammable details can block vents or redirect heat.