
A diy steampunk desk is worth building only if it works like a real desk first: stable top, comfortable height, enough legroom, and cables that do not ruin the look. Treat the brass, gears, pipes, and gauges as the final layer, not the foundation of the project.
How to plan a DIY steampunk desk
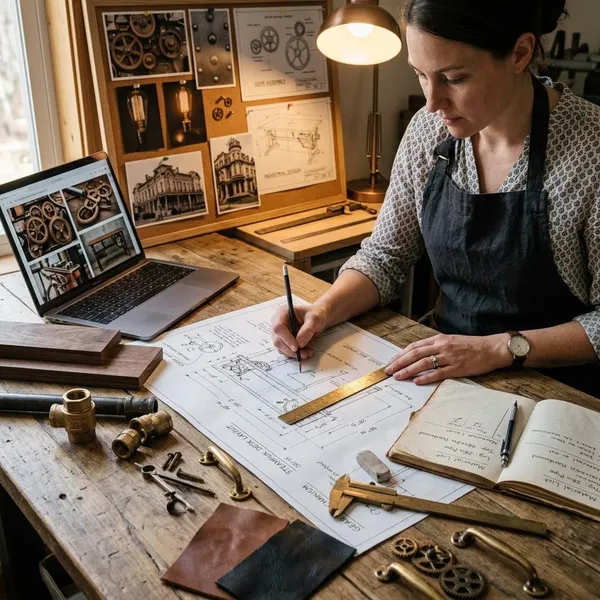
Planning matters more with a themed desk because decoration can easily steal useful space. Before buying pipe fittings or antique handles, decide how the desk will be used: occasional writing, daily office work, gaming, crafting, or a mixed setup with monitors and tools.
A small apartment desk needs restraint and clean cable access. A full home-office desk can handle deeper storage, a monitor riser, and heavier visual details. The first priority is comfort; the second is storage; the steampunk styling comes after both.
Measure the available space
Measure the wall width, usable room depth, chair clearance, nearby outlets, baseboards, doors, windows, and anything that could block a drawer or shelf. Do not measure only the desktop footprint; include the space needed to sit down, slide back, and move around the room.
- Tight room: keep the desk shallower and avoid bulky side panels.
- Dedicated office corner: allow more depth for monitors, shelves, and cable trays.
- Shared room: leave walking space before adding decorative side features.
Set the desktop height and depth
A typical seated desk height is around 28 to 30 inches, but your chair and posture matter more than the number. Sit in your normal chair, relax your shoulders, and check whether your forearms can rest naturally while typing or writing.
Depth is where many themed desks go wrong. Around 24 inches can work for a laptop or writing desk, while 27 to 30 inches is more comfortable for a monitor, keyboard, lamp, and small accessories. If you plan a rear control panel or monitor shelf, mock it up with cardboard so it does not push the screen too close.
Plan storage and legroom
Storage should solve clutter, not turn the desk into a cabinet with a tiny sitting gap. Keep the central knee space open, then place drawers, shelves, or a computer tower area to the sides.
| Use case | Storage that usually makes sense | What to avoid |
|---|---|---|
| Writing or light laptop work | One shallow drawer and a small side shelf | Deep cabinets that crowd your knees |
| Gaming or dual monitors | Side shelf, cable tray, and open rear access | Decorative panels that block plugs |
| Crafting or hobby work | Sturdier shelves and removable bins | Fragile ornaments on the main work surface |
Mark cable and power access
Mark cable routes before assembly. Place one or two openings near the rear edge for monitors and lamps, then plan an under-desk path for the power strip, chargers, speaker wires, and any low-voltage lighting.
If the desk will sit tight against a wall, leave a rear gap or side opening so plugs are still reachable. A beautiful control-station look becomes annoying fast if replacing one charger means pulling the whole desk apart.
Sketch the finished layout
A rough top view and side view are enough. Write down the desktop size, height, shelf positions, drawer openings, cable holes, monitor shelf height, and the location of any brackets, gauges, or switch panels.
Mark structural parts separately from decorative parts. Legs, braces, aprons, and side panels carry weight; rivet strips, faux gauges, and pipe trim should not be relied on to hold the desk together.
How to build a DIY steampunk desk
Build the desk like sturdy furniture first. Straight cuts, a flat top, a square base, and proper bracing will matter every day, while decorative metalwork only looks good if the desk underneath feels solid.
If you are adapting an existing desk, check wobble, top thickness, and surface condition before adding weight. If you are building from reclaimed wood, spend extra time removing nails, checking for soft spots, and flattening boards.
Cut and join the desktop
Arrange the boards before cutting final lengths so you can choose the best grain pattern and avoid cracked or twisted pieces. For reclaimed boards, reject anything with rot, deep splits near the edge, or old fasteners you cannot fully remove.
Sand and reinforce the top
Sand high spots and sharp edges until the desk feels comfortable to touch. You can keep dents, saw marks, and aged texture where they add character, but remove splinters and ridges from the writing and typing area.
- Wide span: add underside braces or an apron to reduce sagging.
- Heavy monitor setup: reinforce the rear section before adding a riser.
- Reclaimed top: check both sides for weak spots before staining hides them.
Assemble the desk base
The base can be four legs with stretchers, two pedestal sides, a cabinet-style frame, or a mix of wood and metal supports. Pedestal sides are useful if you want storage and stability; open legs feel lighter in a small room.
Attach and level the desktop
Set the top on the base, check the overhang, confirm the seating position, and make sure drawers or shelves still open freely. Fasten from underneath where possible, using a method that holds securely without fighting normal wood movement if the top is solid wood.
Add storage and cable openings
Cut cable openings and fit storage before applying the final finish. A rear grommet works well for monitors and lamps, while a side opening can help if the desk is pushed against a wall.
Keep at least one access point easy to reach. Hidden cable trays are useful, but fully boxed-in wiring is a mistake if you regularly change chargers, speakers, or monitor positions.
Test the desk for stability
Test the desk before stain, sealant, and decorative hardware make fixes harder. Sit at it with your usual chair, rest your arms on the front edge, push lightly from the sides, and place realistic weight on the surface.
- Check for rocking on the actual floor.
- Open drawers while weight is on the desktop.
- Watch for side-to-side racking when you lean on the front edge.
- Add a rear stretcher, diagonal brace, or leveling feet if anything moves.
How to create the steampunk finish
The finish should make the desk look aged and industrial without turning it into a fragile display piece. A few consistent materials usually look better than covering every surface with gears and trim.
Think dark wood, warm metal, visible fastening details, and a sealed surface that can handle coffee cups, keyboards, books, and daily cleaning.
Apply a dark wood stain
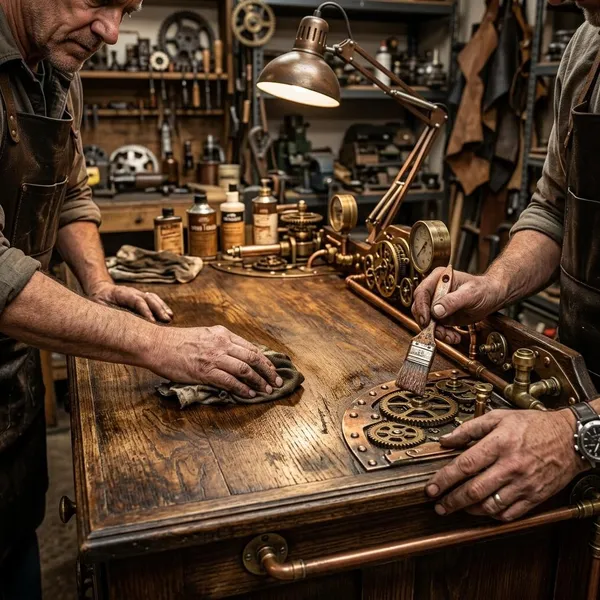
Walnut, dark oak, espresso, or aged mahogany tones usually suit the steampunk look because they pair well with brass, copper, and black metal. Test the stain on an offcut or hidden underside first, especially with reclaimed wood, because old boards can absorb color unevenly.
Apply thin coats and wipe away excess instead of trying to get the full color in one pass. Check the result in daylight and evening light before adding another coat; very dark stain can look rich in the workshop and almost black in a dim room.
Add brass and copper tones
Use brass and copper for handles, corner guards, pipe accents, switch plates, lamp parts, or selected trim. Choose one main metal tone and repeat it so the desk feels intentional rather than assembled from random parts.
Fresh copper will age unless sealed, which can be a benefit if you want a darker workshop feel. If you prefer a cleaner finish, seal the metal or use aged-look hardware that already matches the rest of the build.
Use brackets and rivet details
Brackets, corner plates, straps, and rivet-style trim work best where they appear to belong: corners, shelf supports, side panels, monitor risers, and panel seams. Random rivets across the desktop usually look busy and can make cleaning harder.
Place gears and gauges sparingly
Gears and gauges are strongest when they look connected to a purpose. Place a small cluster near a switch panel, a side cabinet, or the back of a monitor shelf instead of scattering them across the work zone.
For a daily-use desk, keep the main writing and keyboard area clear. For a display-heavy hobby desk, you can be bolder on raised panels or side sections, where the details add atmosphere without getting in your way.
Seal every working surface
Seal the desktop, front edge, shelf tops, drawer fronts, cable cutouts, and any area your hands touch. Polyurethane is a strong practical choice, while hardwax oil gives a more natural feel and is easier to touch up later.
A satin or matte sheen usually looks more believable than high gloss. Pay extra attention to the forearm edge and cup areas, because dark-stained wood shows water marks and shiny wear faster than people expect.
How to add practical desk features
Practical features are what make the desk enjoyable after the first "wow" moment. Storage, cable routing, monitor height, lighting, and switch placement should support your routine instead of competing with it.
Install drawers or shelves
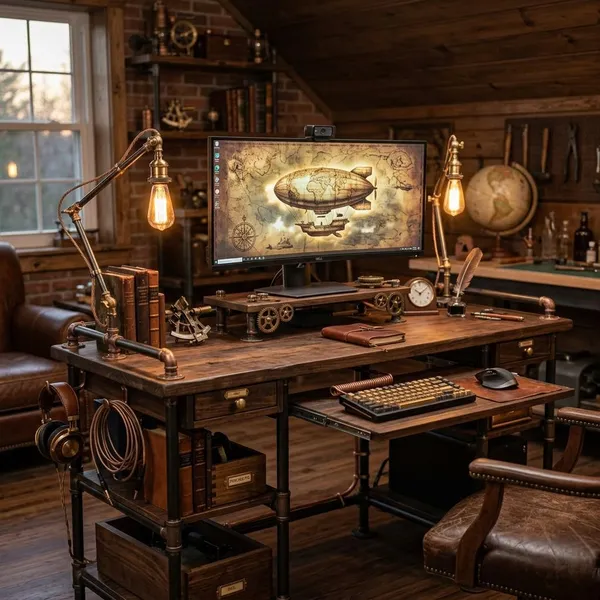
Choose drawers for small items you use often and shelves for larger items that need airflow or quick access. One shallow drawer can handle pens, adapters, notebooks, and small tools; side shelves are better for books, speakers, a computer tower, or hobby supplies.
Do not add storage just because there is empty space. Too many compartments make the desk heavier, reduce legroom, and can make a small build feel crowded.
Route cables below the desktop
Use clips, trays, or shallow channels under the top so wires are hidden but still reachable. Leave a little slack for a monitor arm, lamp, or keyboard tray, and label plugs if several devices share one power strip.
- Best first upgrade: an under-desk cable tray near the rear edge.
- Common mistake: hiding cables behind fixed panels with no access.
- Cleaner look: group low-voltage lighting wires separately where practical.
Add a monitor shelf or stand
A monitor shelf can lift the screen, free space underneath, and provide a natural place for brackets or pipe-style supports. Before fixing it permanently, sit at the desk and check the screen height, viewing distance, and whether the shelf blocks useful workspace.
Use low-voltage accent lighting
LED strips, puck lights, and small warm-white spotlights are the easiest way to add atmosphere without complicated electrical work. They can highlight shelves, gauges, pipe details, or the underside of a monitor riser while staying cool and easy to hide.
Plug-in or battery-powered kits are usually the sensible choice for beginners. If you are not comfortable with wiring, avoid modifying mains power and keep the lighting system simple, accessible, and replaceable.
Keep switches easy to reach
Place switches where your hand naturally goes from the seated position: the front edge of a raised shelf, a side control box, or an accessible rear corner. A dramatic switch panel loses its charm if you have to stand up every time you use it.
Conclusion
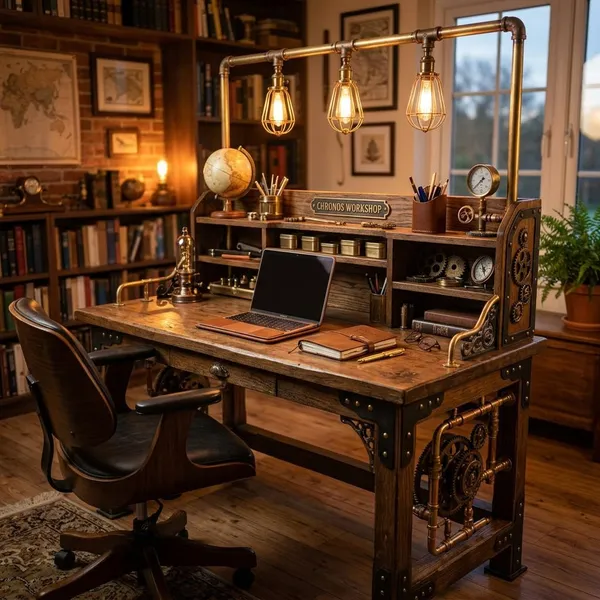
The best result comes from building a comfortable, stable desk and then giving it a controlled industrial character. If the height, legroom, storage, cable access, and finish are right, a few brass details, dark wood tones, brackets, and low-voltage lighting will do more than a crowded collection of gears ever could.
FAQ
Can you turn a normal desk into a steampunk desk?
Yes, if the desk is already sturdy. Start with stain or paint, new handles, corner brackets, and a small lighting or switch detail; reinforce wobble before adding heavy metal parts.
Is reclaimed wood suitable for a desk?
Yes, but only after it has been cleaned, dried, de-nailed, and checked for rot or major warping. Use the flattest boards for the desktop and save rougher pieces for trim or shelves.
What finish works best on a steampunk desk?
A dark stain with a durable satin or matte topcoat works well for most builds. Choose polyurethane for stronger spill protection or hardwax oil if you prefer a softer, more repairable surface.
Can you add lighting without changing the wiring?
Yes. Plug-in or battery-powered LED kits are the easiest option, especially for renters or beginners who want the look without touching household wiring.
Can you turn a normal desk into a steampunk desk?
Yes, if the desk is already sturdy. Start with stain or paint, new handles, corner brackets, and a small lighting or switch detail; reinforce wobble before adding heavy metal parts.
Is reclaimed wood suitable for a desk?
Yes, but only after it has been cleaned, dried, de-nailed, and checked for rot or major warping. Use the flattest boards for the desktop and save rougher pieces for trim or shelves.
What finish works best on a steampunk desk?
A dark stain with a durable satin or matte topcoat works well for most builds. Choose polyurethane for stronger spill protection or hardwax oil if you prefer a softer, more repairable surface.
Can you add lighting without changing the wiring?
Yes. Plug-in or battery-powered LED kits are the easiest option, especially for renters or beginners who want the look without touching household wiring.